Penta Machines Kinetic Control UI
Requirements
Kinetic Control UI version 5.3.0 or newer1 free USB Port
Note
If you have multiple devices that need to connect via USB, please use a powered USB hub.
Features
Override Knobs
- Feed
This dial corresponds to the Feed Rate slider with a range of 0% - 200%.
It controls the speed of the machine when executing feed rate moves.
- Speed
This dial corresponds to the Spindle Rate slider with a range of 0% - 200%.
It controls the RPM of the spindle motor.
- Velocity
This dial corresponds to the Max Velocity slider with a range of range 0% - 100%.
It controls the maximum speed of the machine when executing any axis movement.
Jogging
- Encoder Wheel
The wheel has 100 detents per revolution and will affect 1 jog step per detent for the selected axis and increment.
- Axis Selection
- Linear Axes
X
Y
Z
- Rotary Axis
R1 (A Axis)
R2 (B Axis)
- Increments
The increments work as a divisor to the base increment.
X1 = \(base\)
X10 = \([\frac{base}{10}]\)
X100 = \([\frac{base}{100}]\)
- Base Increments
Linear Axis - 0.01
Rotary Axis - 1°
Note
The base increment is configurable, you can use this to change the increment range to match your preference for your machine units. See Console Configuration for more information on configuring the behavior of your hand-held console.
Initial Setup
Kinetic Control UI v5.5.0 and newer
Starting with version 5.5.0 of the Kinetic Control UI, users no longer need to manually add configuration entries for the hand-held console to function. Simply plug the hand-held console into the USB port, and it will work automatically.
Kinetic Control UI v5.3.0 - v5.4.7
To enable the hand-held console functionality in Kinetic Control UI v5.3.0 - v5.4.7 you will need to edit the machine’s configuration INI.
Editing Your Machine Config
Click on
CONFIGon the top menuScroll down to
MACHINE CONFIGClick on
EDIT OVERLAYin the lower right hand corner.
Adding a PENTA_FEATURES section
If you do not already have a PENTA_FEATURES section in your MACHINE CONFIG INI OVERLAY you will need to add one.
Click the
+underINI OVERLAYName the section
PENTA_FEATURES
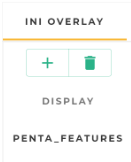
Add Penta_Features section
Adding a HANDHELD_CONSOLE configuration entry
To enable the hand-held console functionality in Kinetic UI you need to add a config entry to the PENTA_FEATURES
Click on the
PENTA_FEATURESsection to select itClick the
+underNamein the panel to the right ofPENTA_FEATURESName the entry
HANDHELD_CONSOLEEnter the value of
1Click
Save
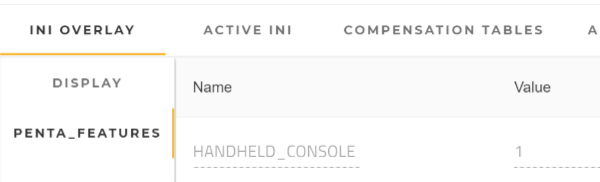
Add Handheld_Console configuration entry
Console Configuration
The default behavior of the Aux button and step increments can be changed to better suit the requirements of the user.
Note
You only need to add a HANDHELD_CONSOLE section and add configuration entries if you want to change the default behavior.
Using the hand-held console with the default behavior only requires Initial Setup.
Tip
Starting from version 5.5.0, Kinetic Control UI users can toggle Jog In Millimeters and Blue Button Homes Machine directly from the Additional tab in machine configuration, eliminating the need to manually add configuration entries to the machine INI.
Adding a HANDHELD_CONSOLE section
If you do not already have a HANDHELD_CONSOLE section in your MACHINE CONFIG INI OVERLAY you will need to add one.
Click the
+underINI OVERLAYName the section
HANDHELD_CONSOLE
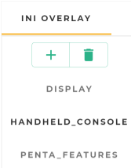
Add Handheld_Console section
Valid configuration variables
- BUTTON_2_SIGNAL
This entry controls the behavior of the
Auxbutton.
- LINEAR_JOG_INCR_BASE
This entry controls the jog increments for the linear axes.
- ROTARY_JOG_INCR_BASE
This entry controls the jog increments for the rotary axes.
Examples
Jogging in mm increments
Click on the
HANDHELD_CONSOLEsection to select itClick the
+underNamein the panel to the right ofHANDHELD_CONSOLEName the entry
LINEAR_JOG_INCR_BASEEnter the value of
0.03937Click
Save
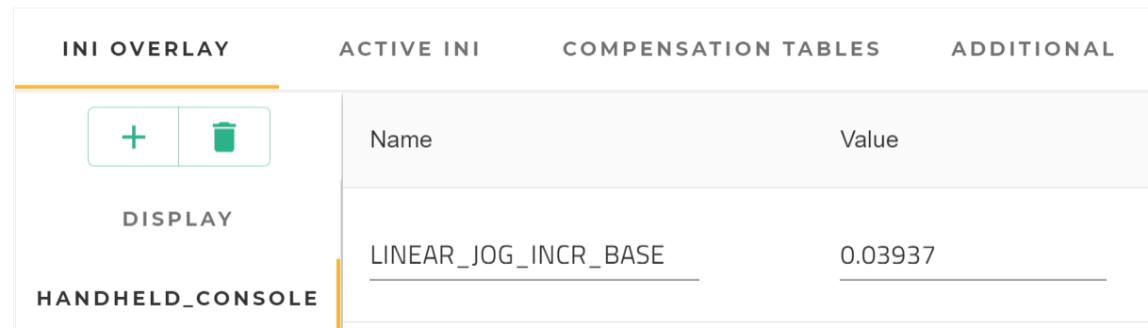
Jogging in mm increments
AUX Home All
Click on the
HANDHELD_CONSOLEsection to select itClick the
+underNamein the panel to the right ofHANDHELD_CONSOLEName the entry
BUTTON_2_SIGNALEnter the value of
home-all-1Click
Save
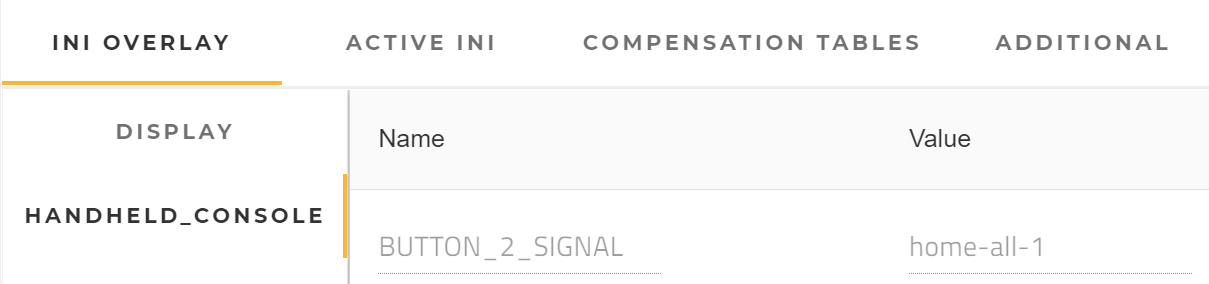
AUX Home All
Note
Configuring Home All requires Kinetic Control UI version 5.3.1 or higher.